To effectively learn how to maintain your new bathroom after remodel, you should wait at least 48 hours for grout to cure before use and apply a professional sealer annually to protect porous surfaces. Daily maintenance requires squeegeeing glass doors and using pH-neutral cleaners to prevent limescale buildup without damaging delicate tile finishes.
After weeks of construction and a significant financial investment, the last thing you want is to see your pristine sanctuary lose its luster to hard water stains or improper cleaning habits. It is heartbreaking to watch high end fixtures dull or grout discolor simply because the initial care phase was overlooked. Protecting your investment requires more than just a quick wipe; it demands a strategic approach to maintenance that starts the moment the contractors leave. In this comprehensive guide, we will walk you through the critical first forty eight hours of curing times and the proper methods for removing construction dust safely. You will also learn which products protect your specific finishes, how to combat hard water buildup on glass doors, and the essential steps for long term ventilation and annual upkeep to ensure your bathroom remains a timeless retreat for years to come.
The Critical First 48 Hours: Understanding Cure Times for Grout and Caulk
The completion of a renovation is a significant milestone, but learning how to maintain your new bathroom after remodel begins before the first shower is even turned on. The most frequent question we encounter after finishing professional bathroom remodeling services is exactly when the space is ready for use. While surfaces might feel dry to the touch within a few hours, the internal chemical curing process for grout and silicone caulk requires a dedicated window of time to ensure structural integrity.
Standard cementitious grout generally requires a full 24 to 48 hours to reach its intended hardness. If your project utilizes epoxy grout, the requirements may differ, but the bond remains equally sensitive to premature moisture. Using the shower too early introduces water into a porous environment that has not yet stabilized. This can wash out pigments, cause the grout to soften or crumble, and trap moisture behind the tile. Once moisture is trapped in uncured joints, it invites sub-surface mold growth that is nearly impossible to eradicate without significant repair.
Residents in Fillmore, Utah, often assume our relatively dry climate accelerates this process. While low humidity can speed up surface evaporation, it does not bypass the necessary chemical reaction time within the material itself. Bathroom & Stuff provides a specific curing timeline during the final walkthrough based on the exact materials used in your home. Adhering to this professional timeline is the single most important step in protecting the long term seal of your new shower and avoiding costly water damage issues down the road.
Cleaning Construction Dust Without Damaging New Finishes
Once the curing period is complete, your next priority is addressing the fine layer of construction dust that inevitably settles on every surface. While it is tempting to reach for a heavy duty upright vacuum, you must avoid using a vacuum with a hard beater bar on new tile or stone floors. These rotating brushes are designed for carpets and can easily scratch the finish of porcelain or natural stone. Instead, use a soft microfiber mop or a vacuum specifically designed for hard floors with the brush roll turned off to lift fine particles without abrasion.
Removing the white, cloudy film known as grout haze requires a specialized approach. Many online guides suggest using a vinegar and water solution, but this is a mistake for a high quality installation. Vinegar is highly acidic and can etch natural stone or weaken the integrity of modern, high performance grouts. To safely clean these surfaces, use a dedicated professional grout haze remover. These products are formulated to dissolve polymer and cement residues without compromising the seal or color of the joint. By choosing professional grade solutions over kitchen staples, you ensure the longevity of the materials chosen during your professional bathroom remodeling services. This careful approach to the first clean sets the standard for how to maintain your new bathroom after remodel.
Should I Seal the Grout in My New Shower?
The decision to seal your grout depends entirely on the type of material used during your project. Standard cement-based grout is naturally porous, acting like a sponge for moisture, oils, and soap scum. Epoxy grout, conversely, is a non-porous resin that is waterproof by design. Determining which you have is a key part of learning how to maintain your new bathroom after remodel. If Bathroom & Stuff installed epoxy or certain high-performance urethanes in your shower, sealing is generally unnecessary because these materials are chemically resistant and do not absorb liquids.
To determine if your grout requires a fresh seal, you should perform a simple water drop test: 1. Ensure the grout line is clean and completely dry. 2. Place several drops of water onto the grout joint. 3. Wait approximately 10 minutes. 4. Observe the results. If the water beads on the surface, the grout is protected. If the grout darkens or the water disappears into the joint, the material is absorbing moisture and requires a sealer.
When selecting a product, we recommend high-quality penetrating sealers rather than topical versions. Penetrating sealers soak into the pores to protect from within, maintaining the natural look of the grout without creating a plastic-like film that can eventually peel or yellow. Because our professional bathroom remodeling services prioritize high-performance materials, many of our installations feature grouts with integrated sealers or dense mineral structures that significantly reduce the frequency of re-sealing. If you are unsure about the specific needs of your materials, you can always contact us for a consultation to ensure your shower remains watertight and pristine.
Best Cleaning Products to Protect Your Investment
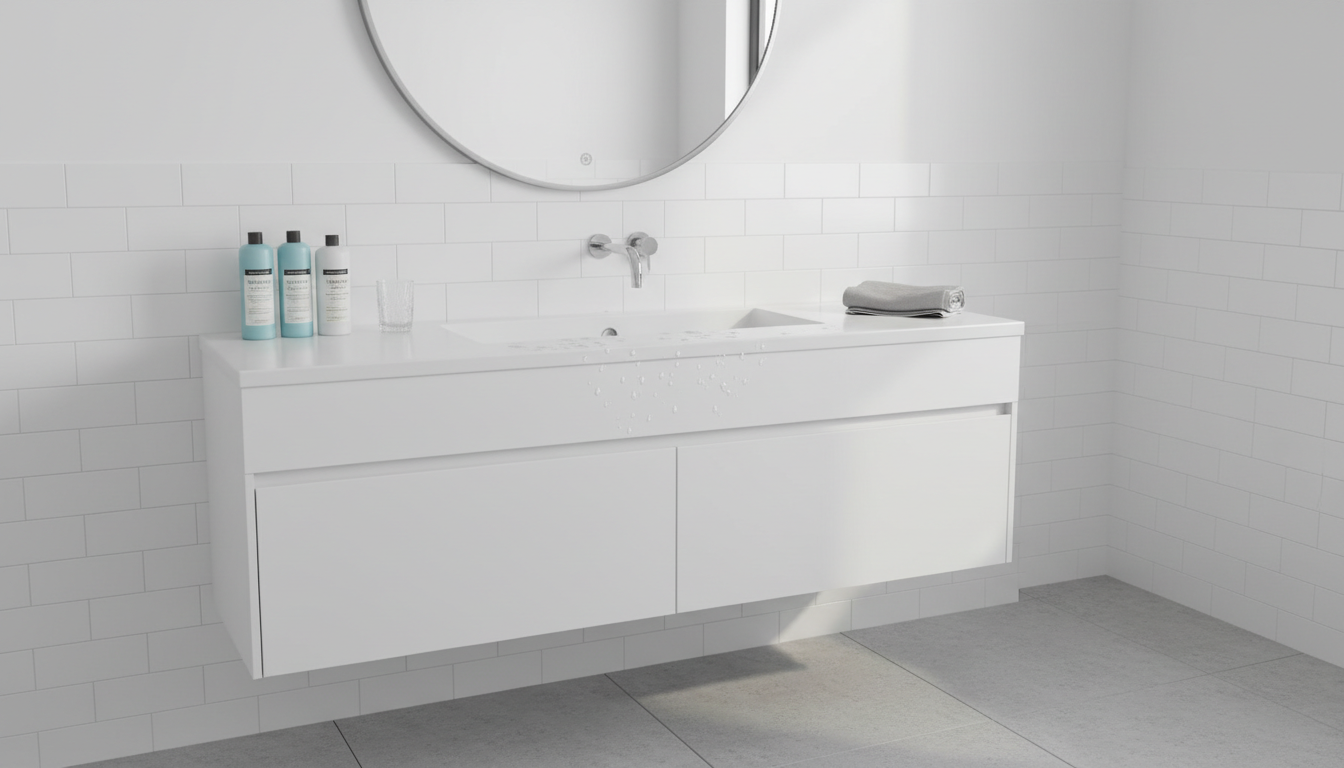
Selecting the right chemical profile for your cleaning agents is the next logical step in learning how to maintain your new bathroom after remodel. Most homeowners reach for heavy duty disinfectants, but the high acidity or alkalinity of these products can strip the very sealers you just applied. For daily maintenance, a simple solution of Dawn dish soap and warm water is remarkably effective. It is pH-neutral, meaning it will not react chemically with your stone or grout, and it excels at breaking down body oils before they can bond to surfaces.
Avoid aggressive foaming cleaners, bleach-heavy sprays, or products marketed as scrubbing bubbles. These often contain chelating agents or high concentrations of sodium hypochlorite that degrade the integrity of quartz resins and etch the surface of natural marble. When Bathroom & Stuff completes a project, we emphasize that the physical action of a soft cloth combined with a safe cleaner is superior to letting harsh chemicals sit on the surface.
Material | Recommended Cleaners | Avoid At All Costs |
|---|---|---|
Quartz Countertops | Mild dish soap, Zep Neutral Cleaner | Bleach, oven cleaners, abrasive pads |
Porcelain Tile | pH-neutral tile cleaners, warm water | Hydrofluoric acid, high-alkaline strippers |
Natural Marble | Specialty stone soaps (Granite Gold) | Vinegar, lemon juice, CLR, ammonia |
Using these targeted recommendations protects the aesthetic finish provided by our professional bathroom remodeling services and prevents the premature dulling of high-end fixtures. For specialized stone surfaces, choosing a product specifically labeled as a stone soap ensures the pH balance remains at seven, which is the neutral point necessary for long term preservation.
Protecting Glass Shower Doors and Fixtures from Fillmore Hard Water
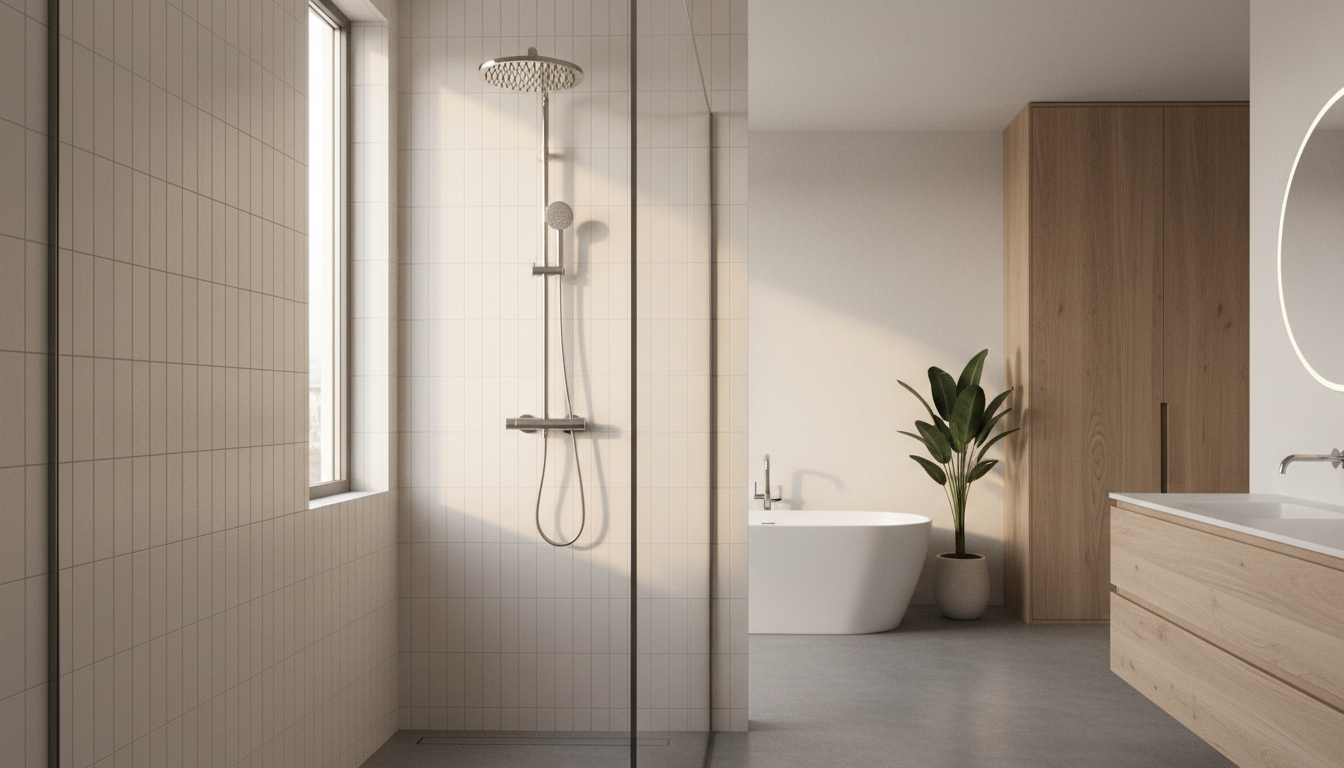
In Millard County, the mineral content in the water poses a unique challenge for homeowners learning how to maintain your new bathroom after remodel. Our local hard water contains high levels of calcium and magnesium. If left to evaporate on glass shower doors, these minerals create stage one corrosion, which eventually leads to permanent etching. Once the glass is chemically etched by these deposits, no amount of cleaning can restore the original clarity.
To prevent this, Bathroom & Stuff recommends a two step defense. First, use a squeegee to remove water after every single use. This simple habit removes 90 percent of the mineral threat before it can bond to the surface. Second, apply a high quality water repellent treatment, such as Rain-X for showers, every three to four months. This creates a hydrophobic barrier that encourages water to bead and roll off, preventing mineral attachment.
Fixtures require similar vigilance. While our professional bathroom remodeling services include high end finishes, even the best matte black or polished chrome faucets can suffer from white spotting and corrosion. Dry your fixtures with a clean microfiber cloth after each use to keep them looking new. If you notice stubborn buildup, do not scrape the finish; instead, contact us for a consultation regarding safe restoration techniques that will not compromise the manufacturer's warranty.
Maintaining Proper Ventilation to Prevent Mold and Mildew
Proper air circulation is a cornerstone of how to maintain your new bathroom after remodel. While surface cleaning protects the aesthetic finish, a high-quality ventilation system protects the underlying structure. Steam that remains trapped in a bathroom eventually settles back onto surfaces, creating a micro-environment where mold and mildew thrive. Over time, this constant moisture will soften even the most durable silicone and degrade the bond of your grout joints, leading to premature sealant failure and potential water intrusion.
To prevent these issues, run your exhaust fan for at least 20 minutes after every shower. Many professional bathroom remodeling services provided by Bathroom & Stuff now include smart switches with integrated humidity sensors. These advanced devices automatically activate the fan when moisture levels rise and keep it running until the air is properly dry, removing the guesswork from your daily routine. If you notice persistent dampness or lingering odors after a shower, your current ventilation may be undersized for your space. In these cases, you should contact us for a consultation to evaluate your airflow and ensure your investment remains mold-free and structurally sound.
Your Annual Bathroom Maintenance Checklist
Establishing a recurring date for a deep inspection ensures the longevity of your investment. While professional bathroom remodeling services provide a durable foundation, every home settles and materials naturally age. A structured approach is the most effective way to learn how to maintain your new bathroom after remodel for decades to come.
Task | Frequency | Specific Action |
|---|---|---|
Caulk Inspection | Every 12 Months | Check corners for cracks or separation; replace silicone every 2 to 5 years. |
Grout Sealing | Every 12 to 24 Months | Perform a water drop test; apply penetrating sealer if moisture absorbs. |
Aerator Cleaning | Every 6 to 12 Months | Unscrew faucet tips and soak in vinegar to remove hard water deposits. |
Leak Detection | Every 6 Months | Inspect vanity interiors, P-traps, and supply lines for any signs of moisture. |
Hardware Check | Every 12 Months | Tighten towel bars, hinges, and cabinet pulls that may loosen with daily use. |
If you notice significant grout cracking or persistent moisture issues during your inspection, Bathroom & Stuff can evaluate the situation. Addressing minor maintenance tasks annually prevents small issues from evolving into major structural repairs. For assistance with specialized restoration or seasonal updates, you can always contact us for a consultation to keep your bathroom in peak condition.